Getting started in diaspora*
Part 1 – Signing up
Welcome to our “Getting started” guide. If you’ve found your way to this page, you’ve probably either just signed up to diaspora* or you’re thinking of doing so. In this series of tutorials we’ll walk you through the sign-up process and get you acquainted with the basics of how diaspora* works. We hope you find it useful, and that you enjoy using diaspora*!
Finding a pod
If you have already signed up, you can skip this section and go straight to Part 2.
Unlike most social networking sites, which have a central hub of computers which store everyone’s data, we can’t give you one specific link and say: “Sign up here.” diaspora* is different from those networks in that it is decentralized, with many different points of access. Before getting started, you’ll have to decide which of these points, or nodes, you want to use to access the diaspora* network. We call these nodes “pods.”
The word “diaspora” refers to the dispersal of seeds (or people) over a wide area. That’s why our motif is the dandelion, and the asterisk in our name represents a fluffy dandelion seed. We refer to individual accounts on diaspora* as “seeds,” and the servers in which those accounts are collected as “pods.” You’ll get used to it soon!
To help you choose which pod is best for you, have a look at our guide to choosing a pod to help you.
You might have received an invitation to join diaspora* from someone you know. If so, this contains a link to the diaspora* pod on which the person who invited you is registered. If you want to join to the same pod as them, you can simply follow the link in the mail. However, you don’t have to be on the same pod as your friend to communicate with them. You can choose any pod you want as your home and talk to people throughout diaspora*.
You will always sign in to diaspora* on the same pod with which you first registered. From your pod you can connect to the whole network and your experience of diaspora* should be more or less the same no matter which pod you are connecting from. You will not be able to sign in to another pod, but there is no need for you to do this anyway.
Registration
Once you have chosen a pod, find the Sign up link. It should be right there on the home page of the pod. If there is no “sign up” link, it might be that this particular pod is not currently accepting new registrations. You can check this by visiting the pod’s statistics page (add /statistics to the pod’s domain name in the URL bar). If registrations are closed on this pod, you’ll need to choose another pod.
When you click the sign-up link you will be presented with a page on which you need to enter a user name, e-mail address and password. Think carefully when choosing your user name as you won’t be able to change it once it’s been created
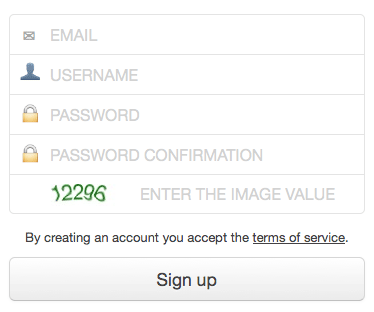
Finish registration by clicking Continue to create and access your brand new diaspora* seed!
During the registration process your seed will probably be connected automatically to one other seed. This will usually be our diaspora* HQ seed, but it may be a seed run by your pod’s admin. This is so we can keep you up to date with important announcements about diaspora*. If, however, you prefer not to follow this seed, you can easily remove it from your contacts list. We’ll cover how to do this in Part 4.
You should now be presented with a “Getting started” page. You don’t have to fill out any of the information on this page, but it will help you start to making connections with other people if you do.
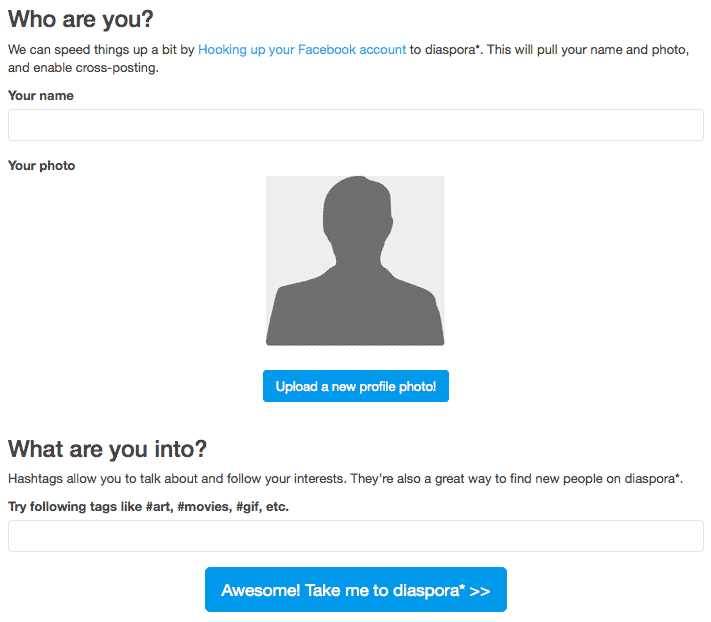
- Enter the name you want displayed on screen in the first field.
- Click the button to upload a profile image (an “avatar”) from your computer.
- Add a few words about yourself. It might be things that interest you – perhaps music, activism – and perhaps the town you live in. These will be converted into #tags, which help you find content and help other people to discover you. We’ll explain more about #tags later in this tutorial.
- Click Take me to diaspora*! >>
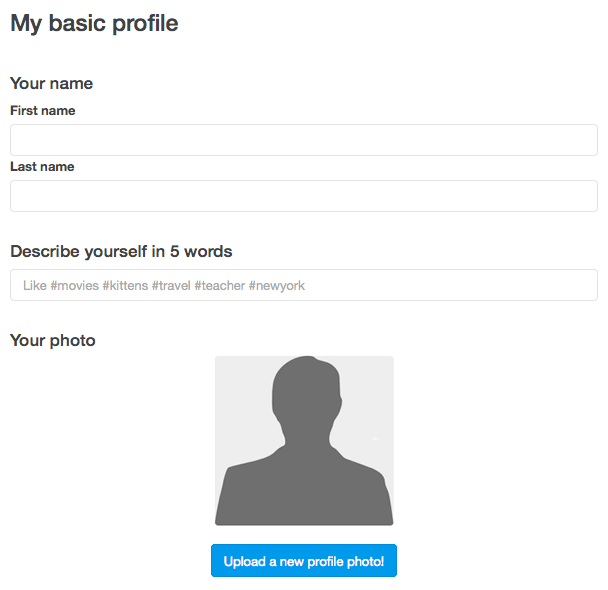
Before you do anything else, take a minute to fill out your profile. On the screen you’re taken to, click your name or avatar at the right-hand end of the black header bar, and select Profile from the list which drops down. Then click the blue Edit my profile button in the top right corner.
There are two parts to your profile: the basic profile, which is public, and the detailed profile, which is private by default. Your public profile is visible to everyone; your private profile is visible only to people you have chosen to share with. You can fill out as much or as little of your profile as you like, and you don’t have to use your real name if you don’t want to. If you want everyone to know as much about you as possible, you can make your entire profile public.
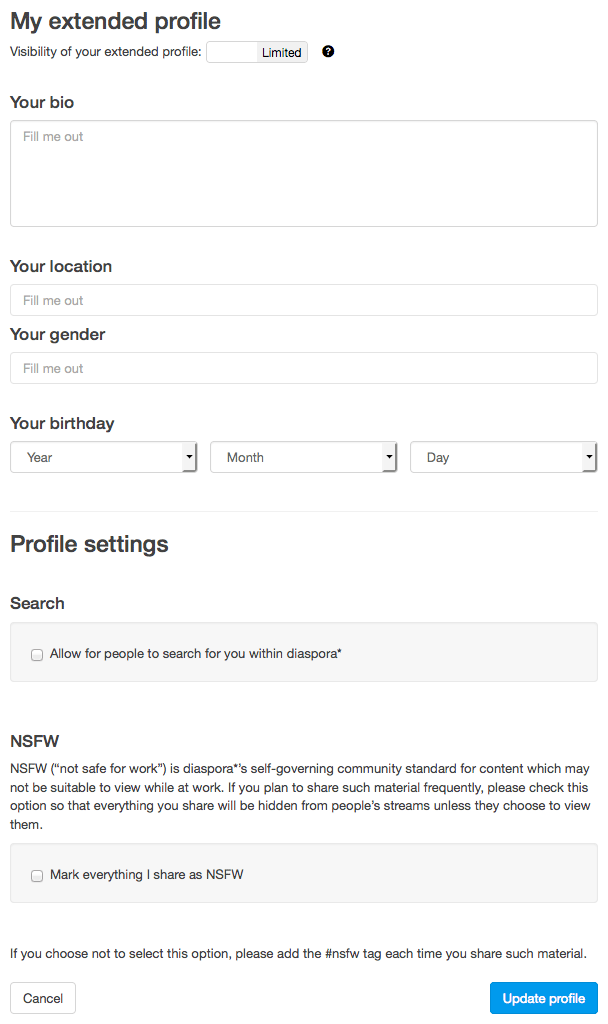
Most of the profile information fields are self-explanatory. NSFW stands for “not safe for work.” We’ll cover this in more detail in Part 7, so don’t worry about it now.
Don’t forget to click the Update profile button once you’re finished!
That’s it!
You’re all set to start using diaspora*! Click the pod name or Stream in the top left of the screen to start.
If you want to meet and be welcomed by the diaspora* community and are feeling confident enough, make a public post now to introduce yourself and include the #newhere tag. Making public posts containing tags is a great way to make new friends on diaspora*. If you’re not sure about doing this now, don’t worry – we’ll take you through your first post step by step in Part 5.